Hey guys i thought i make a separate topic cause i got a bit to many files to post on the Qubicle Creation topic. Hope to hear the feedback from you guys :3. In this post you will find my experience with creating items, my collection. The rest of the topic ill upload all my creations part by part and will awnser question if needed :). I will update this first post when i got new updates or expanded my collection so when you come back on this topic be sure to also check out this post :D.
Weapons
Check below for a picture 
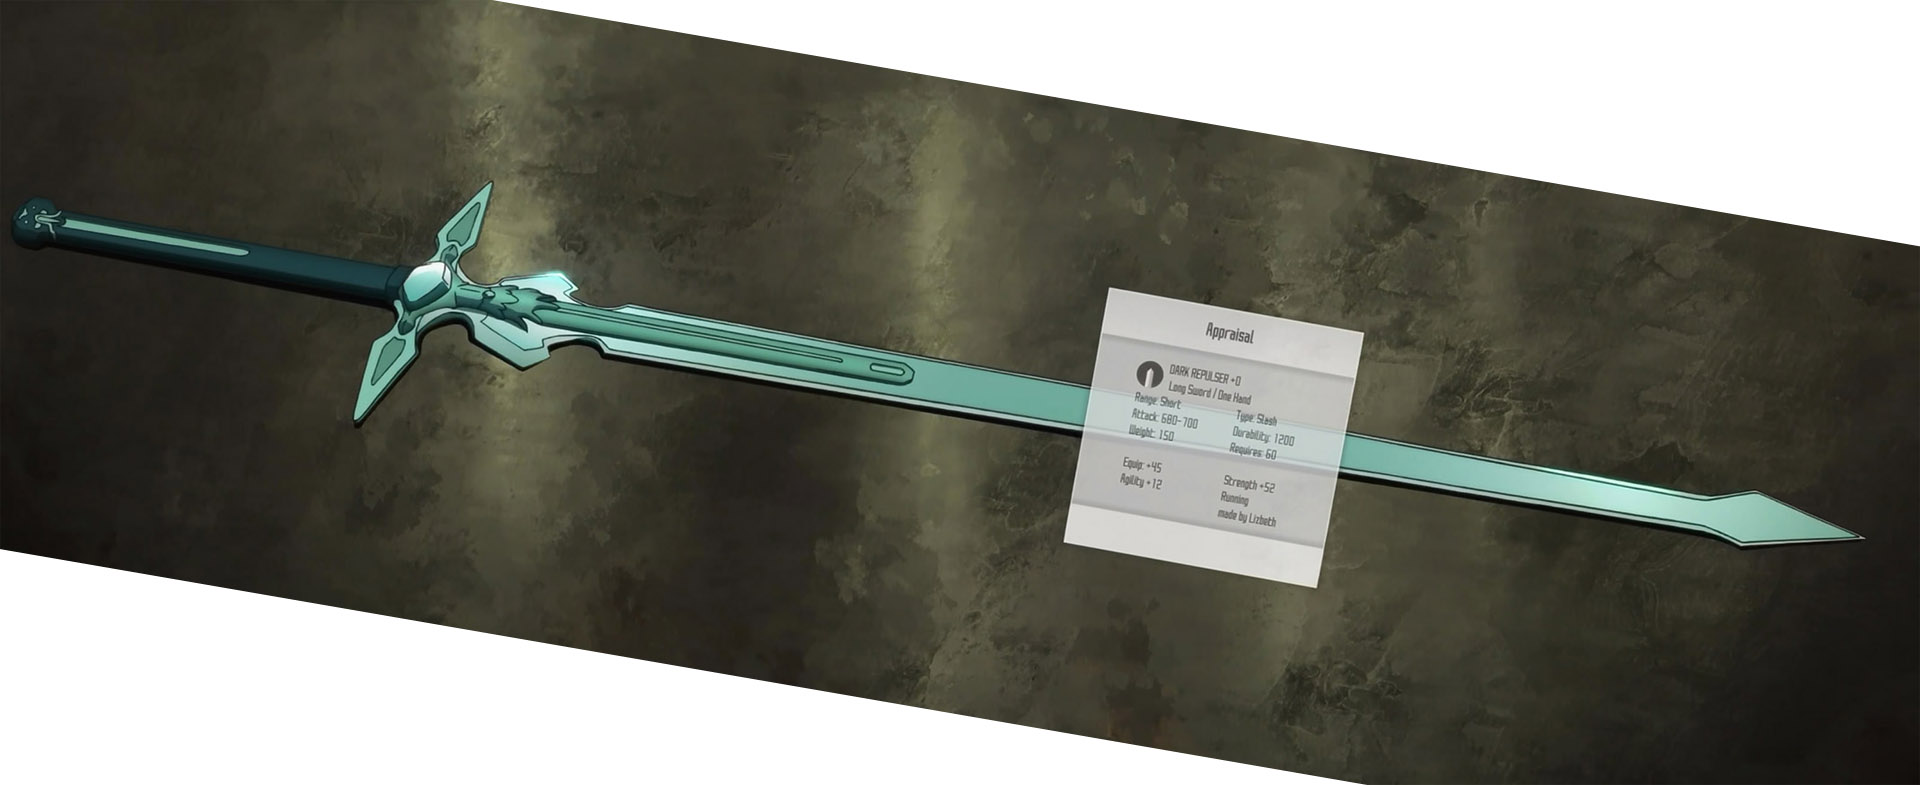
Weapons are for me the most easy to craft cause their quite simple, logic and non organic. Here i will give you a kindof tutorial on how i make my weapons.
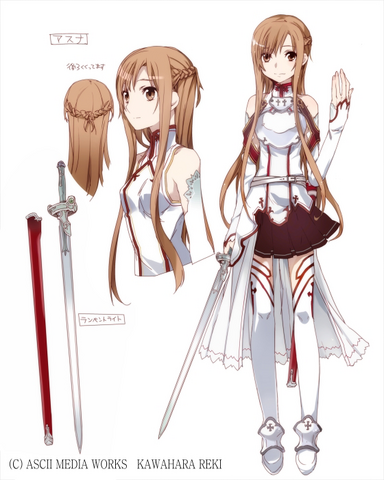
1 - When i start making weapons i first think what weapon i want ofcourse :P. I have only done replicas till now and don’t know if i am gonna make my own thing but for now i search for a existing weapon.
2 - Second i take the carpenter from @Chaze007 Qubicle Creations , and make just a plain white box about the max size of the weapon. Play around with the box till you have the right size. I personally take an uneven number of blocks so that i have a middle.
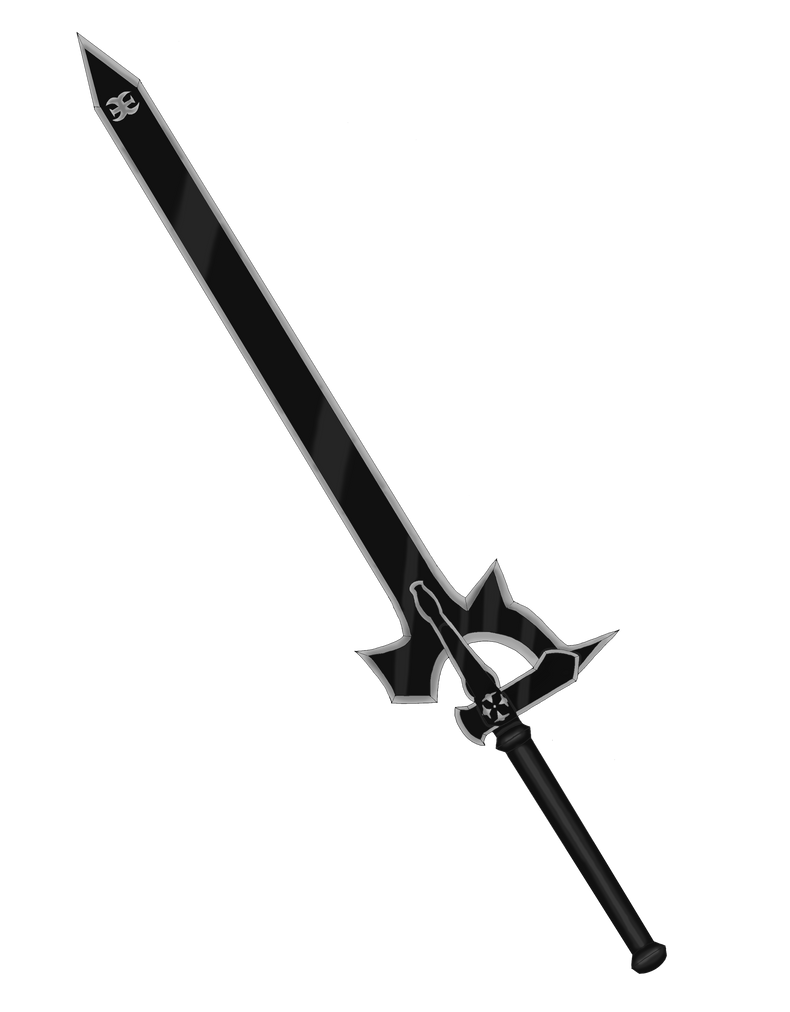
3 - Next i prefer to take the right side to start cutting. I take out the basic form of the sword. (sword 1 and 2)
4 - After that i take the top or front to shape the rest of the basics. (sword 3)
5 - Here i add the basic details. Usually no colors yet. Only sometimes some basic colors to indicate things.(sword 4 and 5)
6 - Now to add colors. First pick basic colors and add some more detail and/or edit some other details. (sword 6 and 7)
7 - Last i just keep adding and removing details and play around till i got the good colors and shape. (sword 8 to 14 and 12.2) Sometimes i have to re-scale the box to make it somewhat larger cause if i just move more of the handle to the blade the ratios of the sword would not look good anymore. (sword 15 and 16)
8 - When i think i am done i move the sword in the carpenters hand and if it looks good ill save and it is finished and else i go back to step 7 :D.
Hope this helps people

Swords number from right to left.
Armor
here i will tell what the basic is for how i make my weapons. will update soon :D.
Armor is really a hell to make xD. so much work x3
Collection and height


Link to my deviant art folder about stonehearth :3. : http://reiger2.deviantart.com/gallery/43872455
Edit i wil update post when i can give more info about stats or how i made it. I will update THIS post with my thoughts when creating this stuff :3.


 Could I ask you to make a Link from LoZ OoT? Like when he was an adult with the Big Goron Sword?
 .
.


 looking forward to see more QC stuff from you!


